Friday, December 30, 2011

Looking Back @ 2011!

WOW!  It's hard to believe that 2011 is coming to a close!!  So much has happened this past year.  I've been inspired by so many of you and because of that I think I have grown tremendously in this crazy, fun hobby of mine!  I achieved several scrappy goals this year - keeping up frequently with my Blog being one of them.  I also had some publication news in 2011, when my layout "The Sky's the Limit" won the Reader's Pick Poll at Creating Keepsakes.  It will be appearing in the May/June 2012 issue of the magazine.  This was also the year for Design Team fun!  I am currently serving on DT's for Frosted Designs and ScrapHappy Pensacola (my LSS) and I will begin a year team with Sketch Support starting in January.  I am also one of the newest staff members at Scrapbook News and Review magazine and I'm looking forward to the upcoming online publications!

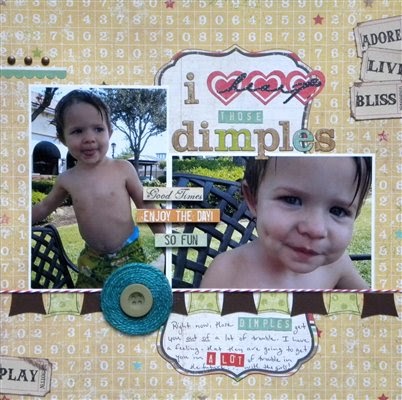
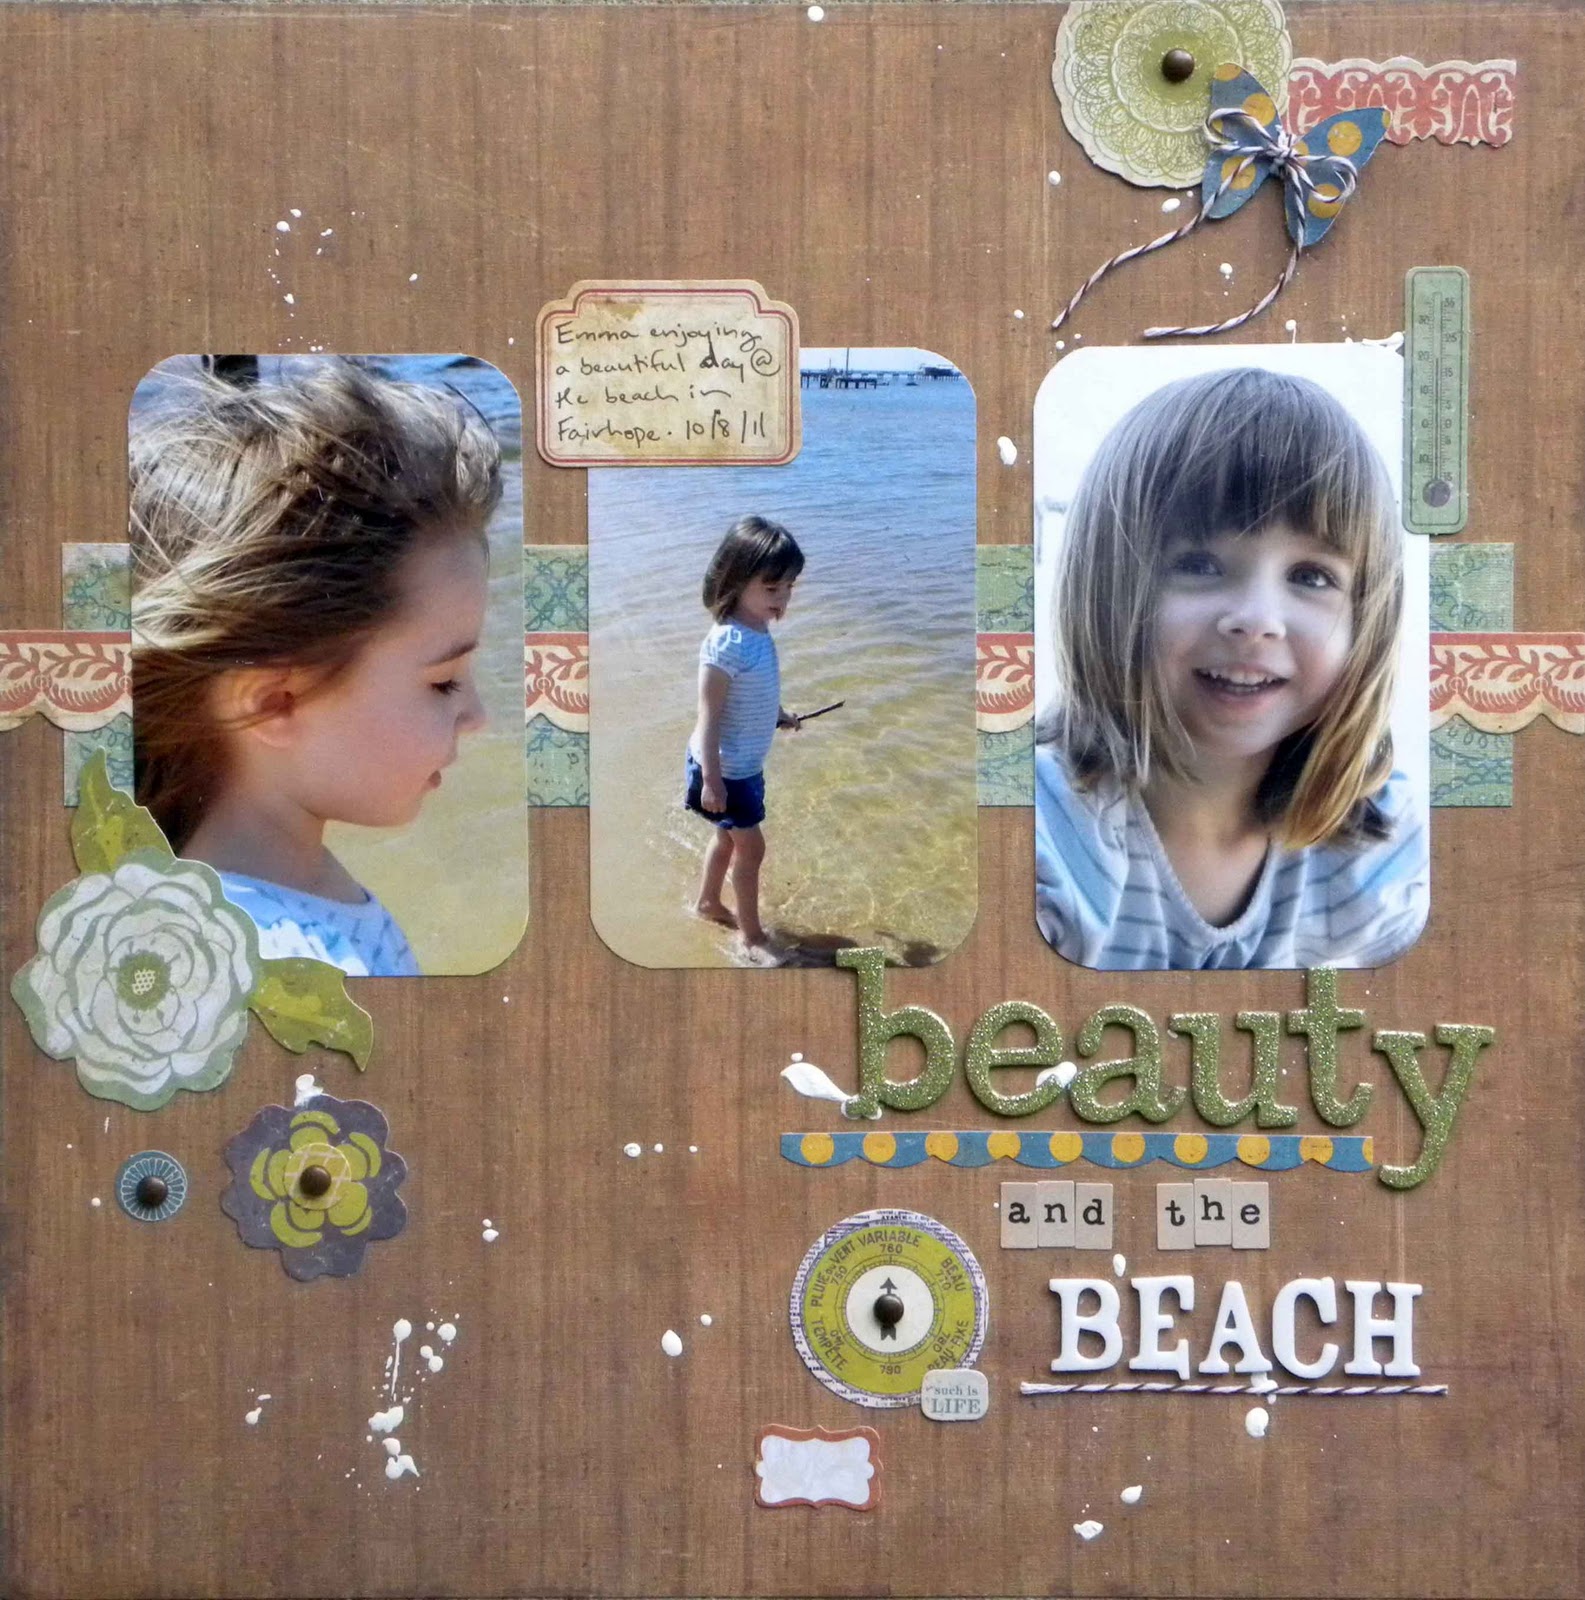
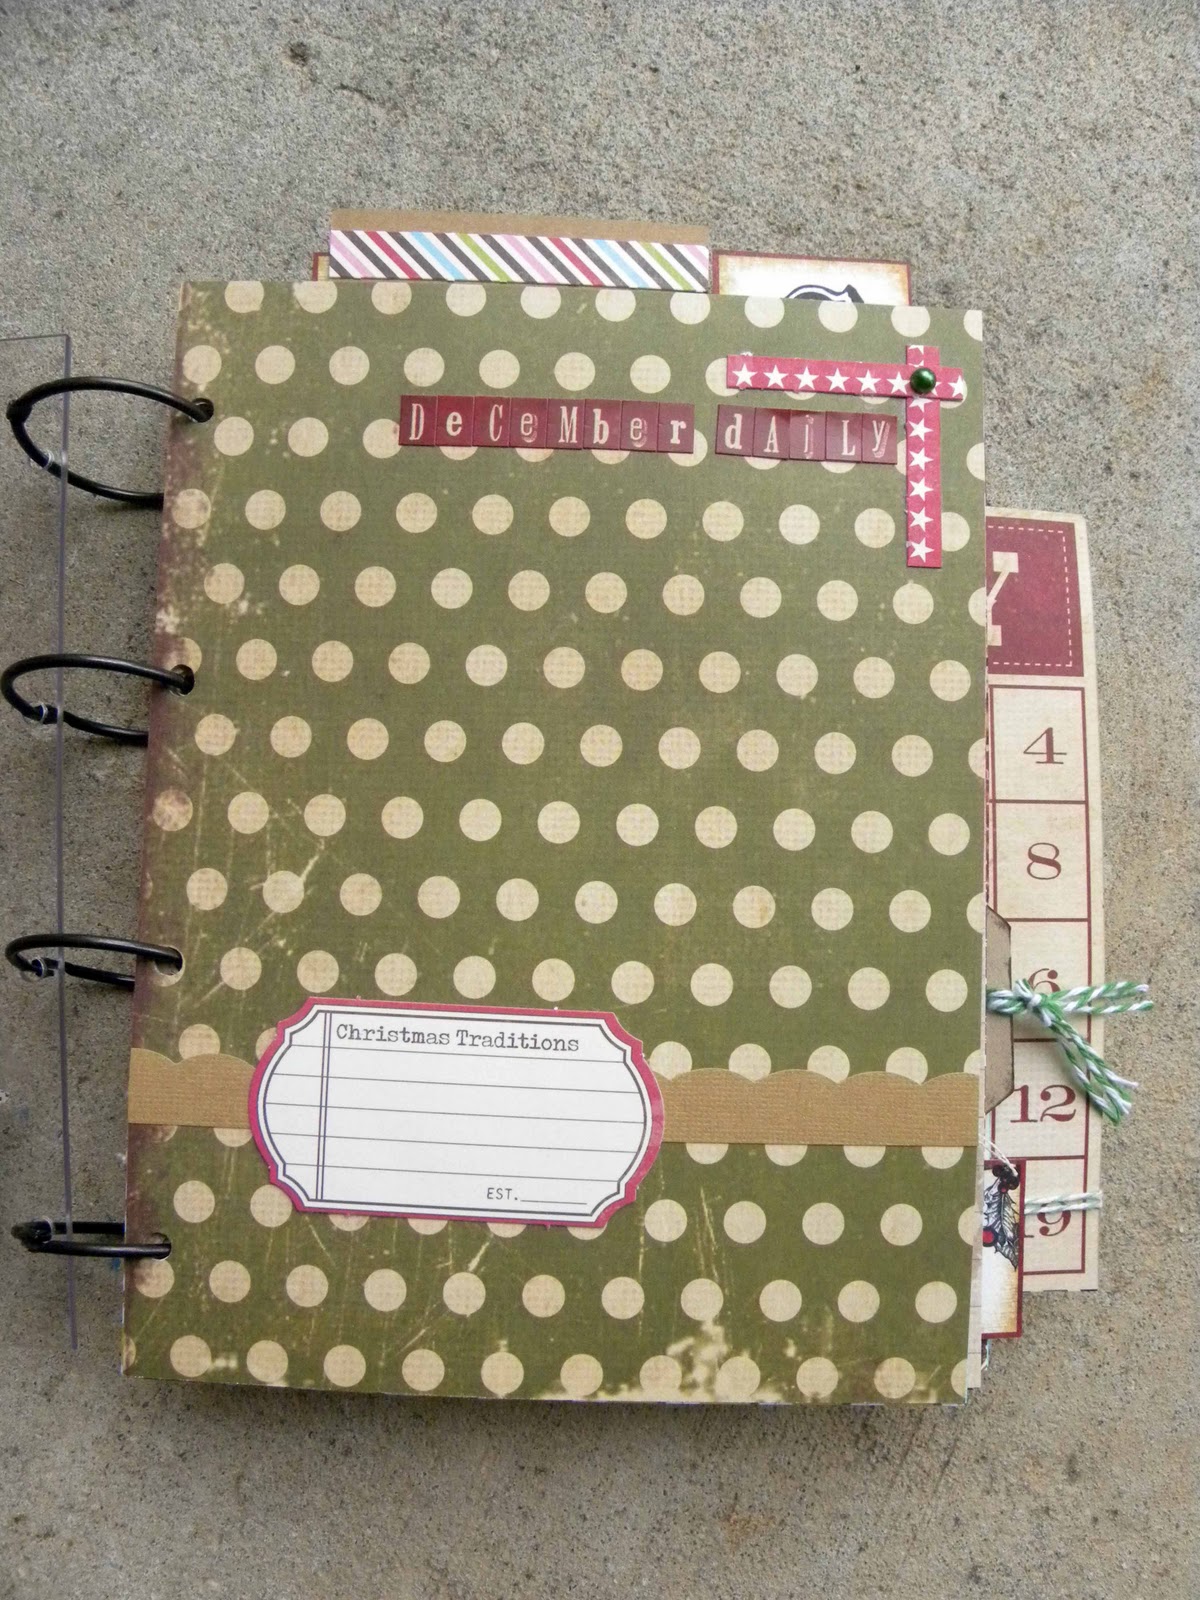
With all of the "Top" 2011 lists, I thought it would be fun to share some of my favorite layouts from this past year.  It is really hard to choose, because I think all of our layouts are special in their own way and if it's not the design we love, then maybe the photos or the story behind it.  So without further ado, here are some of my pics from this past year:


I thought it would also be fun to share with you some of my favorite lines/collections from this past year...most of which you will see on some of the above layouts!  :)


Not in any particular order:


1.  For the Record by Echo Park
2.  Sidewalks by October Afternoon
3.  Finally Fall by Bella Blvd.
4.  Lost & Found II by My Mind's Eye
5.  100 Days of Summer by Simple Stories
6.  Crate Paper (in general-anything they put out is FABULOUS!!)


Thanks for reflecting back with me on this year!  I hope you will take a little time and think back on your favorites from this year!  I would love to see your choices!

Wednesday, December 28, 2011

A Second Dose of Christmas!

Well, Christmas is over and I am looking forward to the New Year, but with all of the tons of photos I took during Christmas Eve and Christmas Day, it looks like I'll still be re-living it for a while!  :)  I gave up scrapping in order a while back, because I felt like it limited my creativity.  I still add my layouts to my album chronologically, but I usually work within a 6 month time frame - right now I think it's more like 8 months.  One day I might do an Easter layout, the next day one for the 4th of July and today I am posting one from Christmas Day.  

I actually did this one for the December Pinterest Challenge at Club CK this week.  You get to choose from 5 photos and use one of them as inspiration for your layout or project.  It's a pretty fun challenge and I always try to play along every month.  I have to admit though, that this layout was not cooperating with me when I was working on it last night.  I just felt like I couldn't make it do what I wanted, but I think it ultimately turned out to be a pretty cute page.


I chose this photo as my inspiration because I really loved the crocheted look around the jars and I have some great trim by The Paper Studio that resembles that look.  I also loved the cream and white mixed together, with the pops of red.  

Products Used:

Paper:  Jillibean Soup, My MInd's Eye, & DCWV
Pom Pom Trim:  Wright's
Trim:  The Paper Studio
Font:  CK Brittany B
Pearls:  Kaiser Craft
Thickers:  American Crafts
Teeny Alpahs:  Glitz Design
Word Stickers:  Cosmo Cricket
Buttons:  Michael's
Baker's Twine:  The Twinery
Punch:  Marvy

Tools:  MS Scoreboard

Saturday, December 24, 2011

A Very Merry Christmas!

One of my favorite things about Christmas, is taking time to stop during all of the busyness and craziness and remember the true reason I celebrate this day...the birth of my Savior!  Now that is truly a reason to celebrate and I look forward to reading The Christmas Story around the tree with my family in the morning before all of the other Christmas festivities take place.  I hope that all of you have a wonderful Christmas and that you are looking forward to a Happy New Year!!  God has blessed me with an amazing family and wonderful friends...near and far...and for that I am thankful!!


"For to us a Child is born, to us a Son is given, and the government will be on His shoulders.  And He will be called Wonderful Counselor, Mighty God, Everlasting Father, Prince of Peace.  Of the increase of His government and peace there will be no end.  He will reign on David's throne and over His kingdom, establishing and upholding it with justice and righteousness from that time on and forever.  The zeal of the Lord Almighty will accomplish this." - Isaiah 9:6-7

Friday, December 23, 2011

Oh Happy -Play- Day

WOW!!  I can't believe that it will be Christmas Eve tomorrow!!  I hope you and your family have a Merry Christmas and that you are looking forward to a Happy New Year!!  Now I'm sure that most scrapbookers out there are going to be getting some awesome scrappy goodies under the tree this year, so why not put them to good use this week and play along with our Fabulous Friday Challenge this week at Frosted Designs!!  This week's challenge is to use Cloth/Fabric on your layout or project.  

I have seen the adorable flowers created with old t-shirts and haven't had a chance to try it yet, but I thought it would be perfect for this challenge.  I just took one of the girl's and one of my old t-shirts and cut them about a half inch wide and at least 12 inches or longer, depending on how big you want your flower to be.  Then grab both ends and twist the fabric.  Once it is twisted, bring the two ends together and let the material "roll up" on itself.  Take the two ends and place it as the center of your flower, either on a Gluber, or a punched circle out of paper and use hot glue and start rolling your flower.  Once it is rolled and secured, you can add a button or brad, or whatever you like for the center.


You have until Noon on Thursday, December 29, to play along with us for the chance to win an awesome prize from our Sponsor!!

Products Used:

Paper & Stickers:  Crate Paper
Trim:  The Paper Studio
Buttons:  MME
Thickers:  American Crafts
Mini Market Stickers:  October Afternoon
Embroidery Floss:  Janlynn
Baker's Twine:  The Twinery
Brads:  The Paper Studio
Other:  T-Shirts & Staples
Adhesive:  Glubers

Wednesday, December 21, 2011

The Blah-humbugs!

Do you ever feel that way at Christmas?  I definitely do!  I think it's the pressure that I feel of the obligations to do this and that, attend Christmas parties, get the perfect present for everyone and have it wrapped so it looks like it's from a department store, get all of the must-have Christmas photos, send out hand-made cards to family and friends...well, you get the idea.  The only cure I have found for the Blah-humbugs is doing something just for me...and since I LOVE Scrapbooking, that is my go to fix!  Because of the busy-ness of the last several days, I had not had time to sit down and work on a page, so Monday afternoon I made it a priority!!  If you are like me, I am way behind on scrapping my photos, but I do have fun working on photos during the current time of the season...i.e., scrapping some Christmas photos at Christmas time!!  :)  I decided I wanted to do a page with some of the pictures from our recent visit to Santa.  I used some of the adorable Christmas Eve Chowder papers from Jillibean Soup on this page and added a fun, stitched Chevron pattern by alternating colors of embroidery floss.


Products Used:

Paper:  Jillibean Soup & DCWV
Letter Stickers:  Jillibean Soup, My Little Shoebox, & October Afternoon
Embroidery Floss:  Janlynn
Brads:  The Paper Studio & Bazzill
Baker's Twine:  The Twinery
Pen:  Zig
Font:  CK Going Places
Punches:  Marvy & Martha Stewart
Pearls:  Kaiser Craft
Stick Pins:  Little Yellow Bicycle

Edgers:  Provo Craft
Other:  Wire

I have one other quick layout to share, that I did over a week ago for one of the Issue Challenges at Club CK.  The challenge for the week, was to scrap our favorite treat.  Now I don't know if you've ever had Oreo Truffles, but if you have or ever do, I think you will agree that they are A-MAZ-ING!!  Who knew that chopped Oreos mixed with cream cheese, rolled into balls, and covered in white chocolate could be so stinkin' good??!!  I had a lot of fun with this page, especially the little border across the page with the Jillibean Soup corrugated alpas negative. I saw this idea on one of Kim Watson' layouts and added it to my scrappy board on Pinterest for future use.  I loved the idea of using a simple color scheme on this page...white background with 5 colors - green, brown, black, red, and yellow.  I think it added a fun graphic feel to this page.


Products Used:


Paper:  October Afternoon & DCWV
Corrugated Alphas:  Jillibean Soup
Thickers:  American Crafts
Mini Market Stickers:  October Afternoon
Baker's Twine:  The Twinery
Embroidery Floss: Janlynn
Font:  Scrapbaby
Edgers:  Provo Craft
Stickers:  October Afternoon
Metal Tag:  EK Success
Button:  MME
MIni Round Gems:  Recollections
Photo:  Bakerella.com

Monday, December 12, 2011

Inking, Misting, & Painting...Oh My!!

If you've seen a lot of my pages, you know they are usually fairly "clean", and by clean I mean I don't really use a lot of mixed media.  I think the reason for that is because I like to layout out everything on my pages and then stick it down.  Once it's down there, I really just don't feel like moving it to mist or splatter paint.  But I spent the day Saturday at my LSS, working on some of the Tim Holtz tags...well, my version of the tags anyway!!  :)  So yesterday when I decided to sit down and do the 12.8 Sketchy Thursdays sketch, I was still in messy mode and did a triple threat of ink (the circles on the page), spray mist (some Sprinklers from October Afternoon), and a little splatter paint (acrylic paint from the Craft Store).  I also added a lot of outlining to this page, which is one of my favorite techniques!  


Products Used:

Paper, Sprinklers, Stickers, Chipboard:  October Afternoon
Trim:  The Paper Studio
Punches:  Marvy & Martha Stewart
Pen:  Zig
Embroidery Floss:  Janlynn
Brad:  The Paper Studio
Paint:  Folk Art
Ink:  Memento

Friday, December 9, 2011

All That Glitters...

You guessed it!!  The Fabulous Friday Challenge this week at Frosted Designs is GLITTER!  Kind of perfect timing for the Christmas Season, since everything is sparkly and glittery anyway!  I did something a little different this week, since it was my turn to do the Project (instead of a layout) for this challenge.  I was already in the Christmas spirit, so I decided this would be the perfect opportunity to work on a new ornament for my tree and here's what I came up with:


This is a fairly simple project to do and it would be so easy to make a set for your tree (or a gift for family members or friends), by setting up an assembly line.  I cut 2 strips of paper 2 by 12 and then scored them all the way down on my cutting board.  After scoring, just accordian fold your strips.  Start one strip folding down and the other strip folding up, so you can connect the two together once you are done.  Once the folding is done, take a Crop-A-Dile or hole puncher and punch a small hole near the bottom edge of the strip.  Then you can run a piece of floss or twine through the hole and bring your accordian flower together and secure the end to create your circle.  For the snowflake, I just used my Expression and cut one of the snowflake fonts on my computer.  You could also use a punch, if you have a large one.  Spray your snowflake with spray adhesive, or you can add a light coat of glue by brushing it on your snowflake.  I sprinkled mine with Fairy Dust Glitter from Fancy Pants.  Once it is dry, attach it to your accordian flower and then finish off the center with an embellishment, button, etc. Complete your ornament by adding a ribbon and then hanging it on your tree!


Come play along with us this week and let's see your Glittery creations!  You will have the chance to win a fabulous prize from our sponsor, Buttons Galore!!


Monday, December 5, 2011

Lucky #15

Thanks to everyone who took part in visiting all of us this weekend for the Handmade Holiday Blog Hop!!  I hope you enjoyed the inspiration from all of our CK Ladies!

I used Random.org to choose a winner for the materials to make the "Joy" boxes and that lucky winner is:

ANDREA!!

Congrats Andrea!!  Get me your mailing info and I'll send out your prize ASAP!

Friday, December 2, 2011

Start Spreading the News!!

Scrapbook News and Review that is!!  I received an email later last week from the Executive Editor, Dan Koch, inviting me to join them as a new Staffer.  This is basically their DT and I will be creating layouts for the different calls for their online magazine and participating here and there in other areas!  If you're interested in finding out more about SNR, check out the site HERE and look around the Forum and check out the page calls for January 2012!!

ALSO in other BIG NEWS...I found out this morning that I have a layout up for vote for the new Reader's Pick Poll at Creating Keepsakes that will be for the July/August 2012 issue!  You can vote once a day and voting will remain open until December 9!  Please take a minute each day to hop over and vote for my layout Slip, Sliding Away!!  You can vote HERE!  

Thursday, December 1, 2011

Handmade Holiday Blog Hop!!

It's December and I hope you are starting to feel the Christmas spirit!!  One thing I love about this time of year is the hand-made and home-made feel of Christmas.  Everyone seems to enjoy making ornaments or decorations for their home, baking, and just decorating for the holidays, in general.  Some of the Ladies at Club CK decided to share our Handmade Holiday with you and I hope you will enjoy hopping along with us for a ton of neat ideas.  You should have arrived here from Cassie's BLOG.  If you didn't, go back to Amanda's BLOG, Love.Joy.Paper and start out from the beginning of the Hop.

I decided to create a cute little project that I saw on Pinterest...and yes, I do actually make some of the ideas that I pin on my boards!!  :)  


These are the cute little kraft boxes that you can buy in Hobby Lobby or other local crafts stores.  The great thing about these boxes, is that it offers a blank canvas for creating.  I used them to spell out the word "JOY" and added it to the decor on my fireplace mantle.  The first thing I did was ink a little around the edges of the top of the box.  Then measure your boxes and cut a piece of paper to fit.  I used Mod Podge to adhere my paper to the boxes.  Next you can cut out the letters to spell out the word you would like to use or if you don't have a die cut machine, letter stickers would work great also.  Adhere your letters to the paper and then ink around the edges.  Go over once again with a second layer of Mod Podge to seal everything.  I added a button to the center of my "O" and tied two of the boxes with ribbon, for a little extra flair!!  :)

Now, for the fun part!!  I will be giving away the materials to make the word "JOY", as pictured above, to one lucky winner!  If you are new to my Blog become a follower and let me know, by commenting below.  I would also love to hear from all of you and find out your favorite Christmas movie or TV show.  Comments will remain open until 12PM (CDT) Sunday, December 4.  

Next, you will continue on to Laura's BLOG for more great Christmas inspiration!


Products Used:  

Boxes:  Hobby Lobby

Paper:  Jillibean Soup
Button:  Michael's
Ink:  Memento
Embroidery Floss:  Janlynn
Other:  Mod Podge & Ribbon

Wednesday, November 30, 2011

It's So Hard to Keep a Secret!!

But I am SO HAPPY that I can share my BIG Secret with you...I will be joining the Sketch Support 2012 Creative Team, along with 19 other very talented Ladies!!  It's actually been a secret since I applied, because I didn't tell anyone or share the layouts anywhere that I submitted.  I figured my chances of making the Team were low, with so many creative Ladies trying for the Team.  But to my surprise, I received an email from Allison Davis this past Saturday inviting me to be a part of the 2012 Team!  After I did a little happy dance, I sent back a quick response of YES!!  I can't wait to kick-off the new year working with Allison's amazing sketches and the returning DT members and the new additions to the DT!

Here are the returning members:

Carolyn Wolff
Christine Chain
Christy Arthur
Janette Kincaid
Jennifer Larson
Jill Sarginson
Katrina Hunt 
Lynette Jacobs
Megan Bickers
Melissa Bell
Noey Hunt
Shari Thurman
Suzanna Lee

And the new additions:
 
Andrea Friebus
Cherie Nymeyer
Michele Edwards
Penny Grimsley
Sue Althouse
Virginia Nebel

I hope you will check out the amazing work by everyone coming in 2012!

I would also like to share the three layouts I sent in with my application:

Add-On Sketch #9:

 
Card Sketch #11:


Two-Page Sketch #21:


Friday, November 25, 2011

Ready for Some Heavy Metal??

The days of adding just paper and stickers to our scrapbook pages are a thing of the past!  These days, there are so many fun products and great ideas that can help add texture to our pages.  Have you ever thought about adding Metal to your pages??  If so, or if it's a new idea you want to try, then come join us this week at Frosted Designs for our Fabulous Friday challenge...using Metal on your layout or project.  There's a variety of ideas for using metal from metal tags, flowers, metal letters, wire, pins...just be creative and have fun.

Our family went to the Blue Angels Air Show a couple of weeks ago and I got a great pic of my hubby and son looking at one of the planes.  I thought this would be a perfect challenge to use on this page.  I have some of the EK Success tags (one of my favorite products) and I just popped out the center piece of paper, to leave just the metal ring and added them as an embellie to my page.  I also had some cool nail-head brads from Recollections that were a perfect compliment to theme of my page.


So come join along in the fun this week and you could have the chance to win an amazing prize from our Sponsor, One Stop Card Crafts.

Products Used:

Paper:  October Afternoon & Bazzill
Tags (Metal Rings):  EK Success
Brads:  Recollections
Letter/Journaling Stickers & Mini Market Stickers:  October Afternoon
Embroidery Floss:  Janlynn
Pen:  Sharipe

Thursday, November 24, 2011

HAPPY TURKEY DAY!

I hope that everyone enjoys a great Thanksgiving today!  We will be spending time with family and stuffing our faces!!  We can be thankful everyday, but it is nice to have one special day set aside each year to stop and reflect on all of the things we are really thankful for.  From our family to yours, have a blessed day everyone!!


Monday, November 21, 2011

My Little Ballerina

My 5 year old started taking Ballet for the first time this year, back in August.  During the month of November, the parents are invited to come into the classes for observation.  I got to go into her class and snap some pictures last Monday.  I was amazed to see how much she has learned in a few short months...especially since she hasn't taken dance before.  She is definitely still a 5 year old little girl and still working on her coordination...but there were definitely moments when she was very graceful in her movements.  It was hard to get great pics in the studio, with the artificial lighting and all of the movement.  But I think these were some of the best and really showed those moments of what she has learned.

I decided to take on the Weekend Warm Up #18 challenge at ScrapFit and use stamping on my layout.  I have a ton of stamps and ink, but don't use them as much as I should.  The black flourishes are stamped with the Black ink pad from Stampin' Up and I wound some baker's twine around the swirls for a little more texture.  I also used the Stampin' Up Vanilla ink pad with some bubble wrap to create a little more depth on my background paper.  This was one of my first times to use a lighter ink on a darker colored paper and I really like the way it turned out.  I used the 11.17 sketch from Sketchy Thursdays on this one, too.


Products Used:

Paper:  Echo Park, Ho3, Bazzill
Stickers:  Echo Park
Ink:  Stampin' Up
Mini Round Gems:  Recollections
Pen:  Sharpie
Paper Crimper:  Fiskars
Baker's Twine:  The Twinery
Punch:  Marvy
Buttons:  Michael's
Font:  CK Believe

Friday, November 18, 2011

A BIG Surprise!

Earlier this week, I was contacted by my friend and fellow Club CK Peep, Erika Hayes.  She has been hosting a Weekly Challenge at Club CK for over a year now, known as the Issue Challenge.  The concept of the challenge, is taking inspiration from each month's magazine and challenging the players to use that inspiration in their project or layout.  I have been playing along since the first challenge and haven't missed a week yet!  These are great ways to get out of your comfort zone and find a jumping off point in your creativity. 

Anywho, Erika asked if she could use one of the sketches I've been working on as this week's inspiration for the challenge!  She wants to start incorporating a Player's Challenge too each month and I am so honored to be the first one to kick that off!  And if all of that isn't enough, she contacted me again yesterday afternoon and said that she had been asked to be the Contributing Writer for today's Creating Keepsakes Blog post, featuring the Issue Challenge for this week, which just happens to be my Sketch!  WOW!  I am still super-excited and excited for Erika for being today's writer!!

Here is the Sketch for the challenge and the layout I did based on it:


Products Used:

Paper:  Crate Paper
Stickers & Embellishments:  Crate Paper
Ink:  Memento
Thickers:  American Crafts
Teeny Alphas:  Glitz Design
Embroidery Floss:  Janlynn
Pen:  Zig
Brads:  The Paper Studio
Baker's Twine:  The Twinery

I would also like to share the sample layout that Erika created from the sketch, to post along with the challenge:


She did such a great job and I love how she added another photo and the fun way she did her title!  That corrugated heart is too, too cute!!

It's Beginning to Look a lot Like Christmas!

Can you believe that Christmas is a little over a month away??  Are you ready??  If you're like me, probably not!!  :)  I always have grand dreams of all of the crafty goodness I am going to get done during the Christmas season and usually if I make it through my Christmas cards, I am happy.  Well, this year I decided to get a head start on Christmas and get my December Daily album ready for all of the great pictures I'm planning to take!  What's a December Daily you ask?  Basically, it's a pre-made album for each day in December (mine only goes up to December 25, but you can do the whole month if you want to) and you can take a photo or photos each day and add them to your album.  It's a really fun idea that was originally started by Ali Edwards and once you are done, you have a great little mini to document all of the fun Christmas festivities!

I was able to create this album with 99% of supplies from my LSS, ScrapHappy.  I decided to go a little different route with this one and mix papers from the Simple Stories 25 Days of Christmas line and Jillibean Soup's Christmas Eve Chowder line.  I thought it would be fun to mix in a little bit of the traditional Christmas look, with a little of the more contemporary and I love the way it turned out!  For the front and back covers of my album, I got some of the 8x6 acrylic sheets from the store.  These are great to decorate, and help protect the pages in your album.  The binder rings are also available in the store and I just used my Crop-a-Dile to punch through the acrylic and add the rings.  To create the base for my pages, I took some old cardstock and cut it to 8x6 pages and then cut and added my patterned paper to the front and back.  Once I had the bases, I added the numbers for each day and then started decorating.  Here is my finished product:


I hope you enjoyed seeing how I made my December Daily and that you will take time to do one too this year!  There is no formula or directions, just have fun and start creating!!

Products Used:

Papers:  Simple Stories, Jillibean Soup, Tim Holtz, Teresa Collins
Clips:  Basic Grey
Stick Pins: Little Yellow Bicycle
Buttons:  My Mind's Eye
Chipboard Buttons:  Jenni Bowlin
Pearl Accents:  KaiserCraft
Letter Stickers:  My Little Shoebox & Doodlebug Design Inc.
Other:  Ribbon & Poinsettia Flowers