Wednesday, January 29, 2014

Hip Kit Club January Guest Designer

I am having a blast designing with the January Kits from Hip Kit Club!  Today is my second post as the January Guest Designer and I have a new layout and card to share with you.

First up the layout!


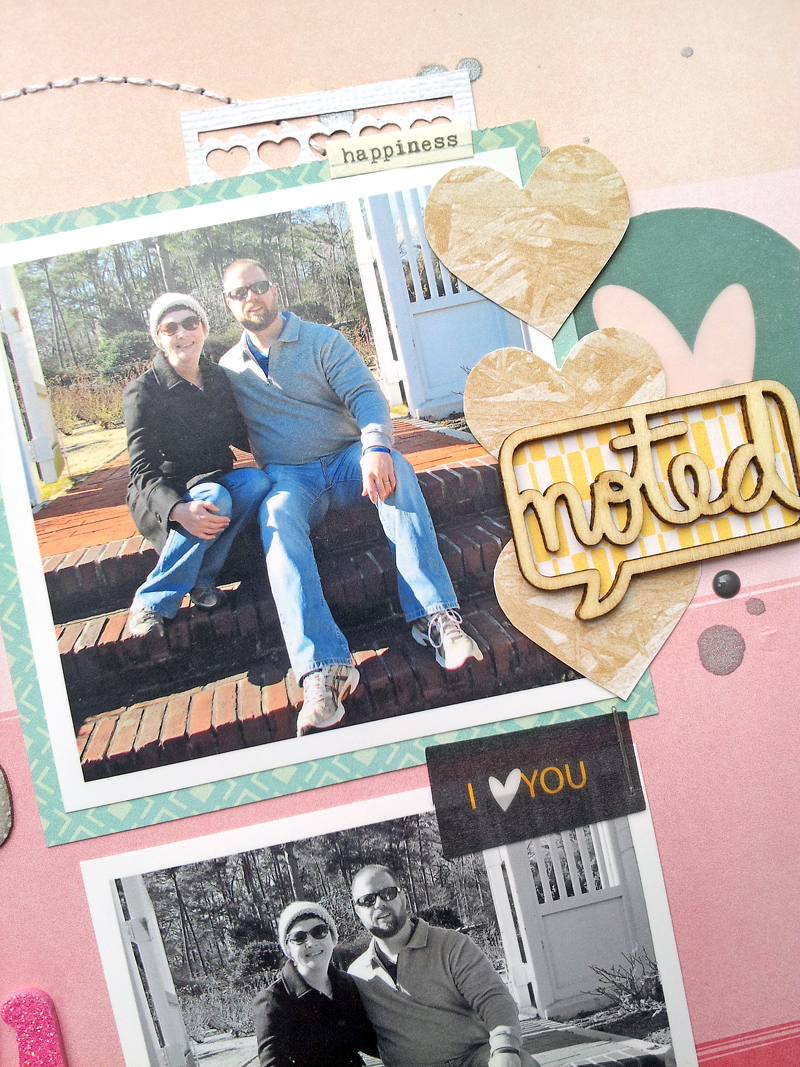
I fluctuate on the choice of backgrounds for my layouts.  Sometimes I like to use a white cardstock base, and other times I like to use a busier patterned paper background.  When I saw the CP Heartthrob paper in the January Hip Kit, I knew I wanted those fun hearts as a background paper.  To keep my photo from fading into the background, I changed it to black & white to contrast with the colors of the hearts on the paper.  I also cut a large Ampersand from the kraft cardstock in the kit, and placed it next to my photo as part of the title, to draw your eye to the title and photo.  I wanted to add some texture to my Ampersand, so I used a paper piercer around the edges of the shape and then stitched it with embroidery floss.  The CP Stand Outs, American Crafts stickers, and Studio Calico cork pieces were the perfect embellishments to finish my page.

And here is the Card:


I love the Transparent Overlay paper from American Crafts, included in this month’s Embellishment Add-On Kit.  It’s a full 12×12 sheet, which you could use as is, but I decided to cut mine down to layer over a card base.  I love the effect of the overlay on the white cardstock, and the fun clear feel it gives your card.  I used two adhesive squares in the center of my overlay, to attach it to the card base.  I knew the adhesive would be covered by the heart embellishment.  You can also stitch your overlay for an added layer and texture.  I also love the Crate Paper products in our January kits, especially the Stand Outs and Stamps.  I used the stamp set from our Stamp Add-On Kit for my sentiment, and used two pieces from the Stand Outs pack included in the Color Add-On Kit to layer over the heart.

That's it for today, but I will still have two more posts coming up using the January Kits!  So don't miss them!


Monday, January 27, 2014

Chic Tags | We Are Family

The new challenge for February is up on the Chic Tags Blog and it's all about Love.  You can link up a layout, card, tag, mini album, etc. with the word Love on it, or having to do with love, for the chance to win a Grab Bag worth $20!  A few Ladies from the Design Team played along and here's what I came up with:

 
I used a mix of papers and tags from the Schoolhouse collection and Happy Place collection.  The clear tag was perfect for the Love challenge, and I really liked the pop of Red with the more neutral colors.

Today is my last post with Chic Tags.  The new Team was announced on the Blog over the weekend, so make sure you stop by to check it out and to get all of the details for playing along with the February challenge.

Supplies:  Patterned Paper:  Crate Paper; Patterned Paper, Tags, Stamps & Flair Button, Chic Tags, Wood Veneers & Spray Mist:  Studio Calico; Enamel Dots:  My Minds Eye; Thickers:  American Crafts

Friday, January 24, 2014

Silhouette | Cute & Cuddly

Lately, I’ve been seeing Stars!  I just can’t seem to do a layout, without adding some type of star to my page.  Star embellishments, patterns or in this case, die cuts can go along with any theme and I especially love them on boy layouts, like this one I created for Silhouette.  I used a couple of star shapes from the Silhouette Store to create a positive and negative effect on my layout.


If you're a long time Blog visitor, you might notice that I changed up my paper size for this layout.  I almost always scrap 12 x 12 layouts, but I decided to change things up and try an 8.5 x 11 format for this page.  That’s one thing I love about the CAMEO and Portrait.  You can create your own custom backgrounds using either machine.  I placed my 8.5 x 11 background paper on my 12 x 12 mat and arranged my Stars in Silhouette Studio to cut into my background paper.  After my star background finished cutting, I backed each of the stars with different patterned papers for a fun visual effect.  Then I wanted to add a positive star shape, so I found a great outline star in the shop and cut a couple of those to embellish my page.


So next time you’re looking for that perfect cut file, don’t overlook the little guy.  Sometimes simple shapes like, stars, hearts, or geometric shapes can add a big impact to your layouts and projects!


Shapes:


Supplies:  Patterned Paper, Tag, Stickers:  American Crafts; Tags:  Elle's Studio; Flair Button:  PandaEight Designs; Wood Veneers & Spray Mist:  Studio Calico; Letter Stickers:  October Afternoon; Die Cut Machine & Adhesive Backed Cardstock:  Silhouette

Thursday, January 23, 2014

Hip Kit Club Guest Designer

http://www.hipkitclub.net/

***Linked up at Paper Issues.***

I am super excited to be Guest Designing with Hip Kit Club this month!  I originally discovered Hip Kit, through my scrappy friend Melanie Blackburn, who had been serving as a Design Team member.  I became a follower on FB and loved the monthly kits and the projects that were being shared by the Design Team.  Kimberly Hutchison, is the kit club owner, and she contacted me earlier in January and said she would love to have me guest design, so I jumped at the chance!!  Kimberly is amazingly sweet and has put together an awesome kit for January including a mix of Studio Calico, Crate Paper, and American Crafts.  So today, I am excited to share my first layout and card with you!


I wanted to try something fun on this layout, using the Cherish Thickers included in the Main Kit.  I took inspiration from the ABC I <3 U canvas that I have seen pinned many times on Pinterest.  This was a fun and easy technique!  I placed my photos where I wanted them on the layout and then referred to the canvas images on PInterest to line up my Thickers.  After I had all of the Thickers in place, I cut a large heart on my CAMEO, and traced it onto my background paper and stitched it with White embroidery floss.

Supplies:  Patterned Paper:  Crate Paper; Thickers, & Remarks Stickers:  American Crafts; Flair Button & Wood Veneers:  Freckled Fawn; Cork Pieces, Accent Stickers & Die Cuts:  Studio Calico; Stamp:  Crate Paper; Enamel Dots:  My Mind's Eye; Color Shine:  Heidi Swapp


I wanted to use a bold background paper for my card base, so I chose the Floral pattern from the Studio Calico Printshop collection.  I cut the paper to fit on the White cardstock base, from the cardstock included in the Kit.  Since I used a busier background paper, I went with a more neutral look for my embellishments on the card.  I used one of the Standouts from the Crate Paper Love Notes collection, to add dimension to my card, and a small bit of twine for extra texture.

Supplies:  Cardstock:  American Crafts; Patterned Paper & Accent Stickers:  Studio Calico; Standouts & Stamp:  Crate Paper; Enamel Dots:  My Mind's Eye; Other:  Twine

So now, if you are looking to get your hands on some of these fabulous goodies, here's a look at what you can purchase in January:

Main Kit

Paper Add On


Cardstock


Color Kit


Embellishment Kit


Stamping Kit

For more information on pricing and becoming a subscriber please visit the Hip Kit Club website.  AND just for being one of my readers, if you become a Hip Kit Club subscriber, you can enter the code HKGDAH at checkout and receive a complementary Paper Add-On kit, with your first kit!

And while you're visiting the website, stop by the Blog to check out the current Design Team call.  You can find all of the information HERE, and applications must be received by January 25th.

Wednesday, January 22, 2014

American Crafts January Gallery | Hello Fun

Today, I am stopping in to share a new January Gallery layout for American Crafts!  I wanted to put together a page using the fun Polka Dot Party collection from Dear Lizzy.  I love that this is just a great everyday kind of line and it can easily be used with so many different themes.


I love to use my CAMEO on most of my layouts, so I cut a fun circle shape for this page, to add some energy...which my kids have in full force!  The circles also gave me to the opportunity to mix in several of the patterned papers from the Polka Dot Party collection.  And this collection has one of my favorite type of embellishments right now...Epoxy Stickers!  Love that they add just the right touch of dimension to your layouts, without being too bulky!  

And if the Polka Dot Party collection isn't awesome enough for you, be on the look out soon for upcoming projects using the newest collections from Dear Lizzy, Amy Tangerine and American Crafts!  I am actually crossing my fingers that my big old box of goodies arrives on my doorstep today!!  :)

Supplies:  Die Cut Cards (366209) - Polka Dot Party; Pretty Party Hat (366166) - Polka Dot Party; Large Tag (366206) - Polka Dot Party; Fascinating Friends (366165) - Polka Dot Party; Veneer Set (366204) - Polka Dot Party; 6x6 Paper Pad (366214) - Polka Dot Party; Printed Chipboard Shapes (366205) - Polka Dot Party; Buckaroo (331519) - Thickers; Epoxy Stickers (366198) - Polka Dot Party; Accent & Phrase Stickers (366196) - Polka Dot Party

Tuesday, January 21, 2014

Echo Park Design Team Introduction

Yesterday was my introduction day on the Echo Park Blog!  I'm still getting used to the idea, that I am even a designer for this amazing Team.  I've had the chance to work with four of the newest collections so far and I am loving it!  I'm looking forward to sharing all of my upcoming projects with you.  If you want to check out my full introduction post on the EP Blog, please visit HERE.

As part of our introduction, we were asked to share a project showcasing our style.  In our first DT box, I received the Times & Seasons 2 Collection, which I had not had the opportunity to use yet.  I thought this would be a great chance to use the collection and scrap a great photo of my husband and our son together, on a recent day trip we took in November.


I really loved the mix of Teal and Yellow in this collection, so I paired those two papers together and added in some other accent colors from the collection.  The sticker sheets included in the EP collection packs are always perfect for embellishing your layouts.  I layered several of the stickers on the left hand side of my photo, to fill in some of the White space.  I used the US map from the Silhouette Store to layer behind my photo, and added the compass rose cut file for second layer.  The Times & Seasons 2 collection can be used with a variety of themes, and it was perfect for the travel theme on my layout!

Now that the introduction is over, soon I'll be sharing some projects with the brand new collections that were revealed at Winter CHA!  Watch for an upcoming layout and card using the fabulous Valentine's collection, Head Over Heels!!

Supplies:  Times & Seasons 2 Collection Pack, Stamp & Die Cut:  Echo Park; Wood Veneers & Spray Mist:  Studio Calico; Stamps:  Heidi Swapp & Chic Tags; Enamel Dots:  My MInd's Eye; Die Cut Machine, Shapes & Adhesive Backed Cardstock:  Silhouette CAMEO  

Monday, January 20, 2014

Chic Tags Challenge Sunday | Winter Berries

Yesterday, our newest Sketch challenge went up on the Chic Tags Blog!   The new Sketch has a large photo area for you to use.  This is a great sketch, for those of you who have wide format printer!  But even if you don't, you can still play along!  Just print your photo up to 8x10.  Or you can even use two or more smaller photos together.  It's totally up to you!


I added a White on White die cut background behind my photo and then used some papers, tags, rub-ons and Gold letter stickers from the Good Tidings collection on my layout.  I love to stitch through those letter stickers, just to add a touch of texture.


Make sure you stop by the Chic Tags Blog to see how the other DT members used the Sketch and you can play along with us!!  You don't have to use Chic Tags products to play along, but we love it when you do!  Just make sure you link up your layout by NOON on Saturday, February 1st, for the chance to win a Chic Tags Grab Bag!!

Supplies:  Patterned Paper, Rub-Ons, Letter Stickers, Tags, Clear Tags:  Chic Tags; Patterned Paper & Stickers:  Glitz Design; Wood Veneers:  Studio Calico; Die Cut Machine:  Silhouette CAMEO