Today I have a new layout to share with you for Hip Kit Club, using the February Hip Kit & Add-On Kits! For this layout, I worked with some of the WRMK papers, and decided to add some watercolors to go along with the colors in the paper. I love that the WRMK 6×6 Paper Pad is included, and I used one of the patterns as the inspiration for my color scheme.
I used my watercolor set, to add a few colors to several of the door images. Once the watercolors dried, I added my photo, and used the American Crafts Thickers, that are included in the February 2015 Embellishment Kit, to create a long title for my page.
This layout was quick and easy to put together, because the patterned paper and long title did a lot of the work for me! You can check out all of the details on my layout, by watching my new process video, to go along with this layout!
Thanks for visiting today! And before you go, here are a couple of sneaks for the upcoming March 2015 Hip Kit & Add-On Kits!!
Thursday, February 12, 2015
Wednesday, February 11, 2015
Simple Stories | Love Is In the Air
Today I have two brand new layouts on the Simple Stories Blog, and I wanted to share them here too! I am having so much fun creating with the new I Am and Say Cheese II collections! And since Valentine's Day is only a few days away, I wanted to share some "love"ly ideas for creating love themed layouts, with these two collections.
I think we all have a tendency to document what we feel are the "best" photos on our layouts. But I think it's important to also document the not so perfect photos too. We want our albums to be a record of memories for future generations, so I think that includes the good and the not so good. The photo I used definitely isn't perfect. The kids hair was wind blown and our son had his eyes closed, but I love that it showed the bond between the kids.
I started my layout, with the idea to create the heart circle die cut and add water color paint behind it. Once I had my die cut paper layered over the dry water color paint, I mounted the White cardstock on the Courageous 12x12 paper. Then I used my sewing machine to add some messy stitched circles around the heart design.
I thought it would be fun to add some dimension to my photo, so I layered it over one of the Interactive Elements. After my photo was in place, I started adding embellishments from the I Am collection including Decorative Brads, Enamel Dots and Bits & Pieces.
Supplies Used:
Courageous Patterned Paper: 4505
2x2 and 4x6 Elements Patterned Paper: 4512
6x6 Paper Pad: 4522
Bradz: 4527
Enamel Dots: 4531
Interactive Elements: 4537
On my second layout, using the Say Cheese II collection, I wanted to try out a fun trend that's been popping up lately...String Art. I cut out the letters for the word Love on my Cameo, and then placed them on my background paper. I traced around the letters, and then used my paper piercer to punch holes for my stitching.
After I back stitched around the edge of each letter, I randomly criss-cross stitched on the letters using Teal embroidery floss to create the String Art look. I wanted the title in the center of my page, so I added my photo and embellishing at the top. I chose the Teal striped patterned paper and embroidery floss, to balance out the Pink that was in my photo.
I also thought it would be fun to create some hand cut letters to finish the title for my page. I used four different papers from the Say Cheese II 6x6 Patterned Paper Pad and my small scissors to cut out the word This. Once I had the letters in place, I used my sewing machine to add some stitching.
I also created a Process Video, showing how I put this layout together! I hope you will check it out and Subscribe to my YouTube channel!
Supplies Used:
Unique Patterned Paper: 4518
2x12, 4x12 & 6x12 Elements Patterned Paper: 4315
6x6 Paper Pad: 4322
The I Am collection and Say Cheese II collections would also be great, for some of your Valentine's projects or Cards!
I think we all have a tendency to document what we feel are the "best" photos on our layouts. But I think it's important to also document the not so perfect photos too. We want our albums to be a record of memories for future generations, so I think that includes the good and the not so good. The photo I used definitely isn't perfect. The kids hair was wind blown and our son had his eyes closed, but I love that it showed the bond between the kids.
I started my layout, with the idea to create the heart circle die cut and add water color paint behind it. Once I had my die cut paper layered over the dry water color paint, I mounted the White cardstock on the Courageous 12x12 paper. Then I used my sewing machine to add some messy stitched circles around the heart design.
I thought it would be fun to add some dimension to my photo, so I layered it over one of the Interactive Elements. After my photo was in place, I started adding embellishments from the I Am collection including Decorative Brads, Enamel Dots and Bits & Pieces.
Supplies Used:
Courageous Patterned Paper: 4505
2x2 and 4x6 Elements Patterned Paper: 4512
6x6 Paper Pad: 4522
Bradz: 4527
6x12 Chipboard: 4528
Bits & Pieces: 4529Enamel Dots: 4531
Interactive Elements: 4537
On my second layout, using the Say Cheese II collection, I wanted to try out a fun trend that's been popping up lately...String Art. I cut out the letters for the word Love on my Cameo, and then placed them on my background paper. I traced around the letters, and then used my paper piercer to punch holes for my stitching.
After I back stitched around the edge of each letter, I randomly criss-cross stitched on the letters using Teal embroidery floss to create the String Art look. I wanted the title in the center of my page, so I added my photo and embellishing at the top. I chose the Teal striped patterned paper and embroidery floss, to balance out the Pink that was in my photo.
I also thought it would be fun to create some hand cut letters to finish the title for my page. I used four different papers from the Say Cheese II 6x6 Patterned Paper Pad and my small scissors to cut out the word This. Once I had the letters in place, I used my sewing machine to add some stitching.
I also created a Process Video, showing how I put this layout together! I hope you will check it out and Subscribe to my YouTube channel!
Supplies Used:
Unique Patterned Paper: 4518
2x12, 4x12 & 6x12 Elements Patterned Paper: 4315
6x6 Paper Pad: 4322
Bradz: 4327
Bits & Pieces: 4329
Enamel Dots: 4331
4x6 Stickers Sheet: 4332
Chipboard Frames: 4338The I Am collection and Say Cheese II collections would also be great, for some of your Valentine's projects or Cards!
Tuesday, February 10, 2015
American Crafts | Love Week
It's Love Week on the American Crafts Blog, and today I am sharing a fun Valentine's Day project! This is a great time of year, to create your own love themed projects for someone special, or some cute Valentine's for your kids. I created a gift bag, that's perfect for holding some sweets for your sweetie, using a mix of American Crafts products!
How To:
Here are the steps I used for putting my bag together.
1. Choose the bag shape you want to use. I found this one in the Silhouette store. Use a 12x12 sheet of vellum to cut your bag shape.
2. After your bag pieces are cut, use a pencil to mark another sheet of vellum to fit on the front of your bag.
3. Use your sewing machine to stitch the measured piece onto the front of your bag. Only stitch three sides, so you can add in your confetti.
4. Now you can fold along the perforated lines, to start putting your bag together.
5. Use a clear drying adhesive to add to the tabs of your bag, once it's folded and hold them in place as they dry.
6. Use a hole puncher to punch small circles from scrap pieces of paper. I used the Stitched 6x6 Paper Pad, and used some scrap pieces that I had left over from other projects.
7. Drop the punched circles and the heart shape from the Stitched Bits pack in your pocket and then finish stitching the last side.
8. Now you can add one of the Rub-Ons, Transparent Accent & Phrase Stickers, and Thicker heart to the front of your bag to complete the sentiment.
This bag would be easy to customize for any occasion, using a mix of your American Crafts products!
Supplies: Stitched (368965) - 6x6 Paper Pad, Stitched (368970) - Accent & Phrase Stickers, Stitched (368983) - Rub-On Transfer Sheets, Stitched (368980) - Die Cut Cardstock Shapes, Stitched (368966) - Today Thickers
Friday, February 6, 2015
American Crafts | Frozen
It's that time of year...Winter! Some of us are buried in snow and some of us wear coats one day and short sleeves and flip flops the next day. This week the American Crafts Design Team is featuring Winter themed projects, and I shared a layout earlier in the week, using the DIY Shop 2 collection. I paired neutrals from the collection, with touches of Gold and Silver, to create a frosty look on my layout.
How to: Choose one of the patterned papers from the Chalkboard paper pad. Adhere several strands of the gold twine along the diagonal lines on your background paper. Stitch the twine pieces down to your background paper. Use the large white letter stickers from the DIY Shop 2 collection to create your title by placing it in the center of the layout along the diagonal line. Add your photo above the title. Embellish around your photo with the Mercantile tag, gold dot vellum paper, pleather bow, and gold glitter tag. To create the glitter snowflakes adhere strips of the gold glitter tape to vellum and cut out snowflake shapes on your Silhouette Cameo or use a snowflake punch. Finish your layout with journaling using the permanent white chalk marker.
Supplies: DIY Shop 2 (369079) - Chalkboard Paper Pad, DIY Shop 2 (369025) - Gold Dot Vellum Paper, DIY Shop 2 (369032) - White Letter Stickers, DIY Shop 2 (369055) - Twine, DIY Shop 2 (369056) - Glitter Tape, DIY Shop 2 (369051) - Gold Heart Stickers, DIY Shop 2 (369054) - Sequin Ribbon, DIY Shop 2 (369044) - Gold Glitter Tags, DIY Shop 2 (369047) - Mercantile Tags, DIY Shop 2 (369065) - Bulk Rhinestones, DIY Shop 2 (369061) - Permanent Chalk Markers, Serendipity (369217) - Pleather Bows, Serendipity (369215) - Enamel Dots
Thursday, February 5, 2015
Hip Kit Club | Hello Beautiful 9
Hi everyone! Today I'm stopping in to share my first layout with the February 2015 Kit from Hip Kit Club! These kits have so many amazing goodies, it was tough deciding where to start. But the Webster's Pages wood grain paper, was calling my name, so I knew I had to go with it first!
I chose the wood grain paper for a neutral background, because I wanted to work with the My Mind’s Eye Jubilee embellishments, which included a lot of color. The bits from the MME Mixed Bag, were perfect for adding around the rings of the wood grain design.
Thanks for taking a look! And I would love for you to Subscribe to my Channel, to keep up with new process vidoes!
I chose the wood grain paper for a neutral background, because I wanted to work with the My Mind’s Eye Jubilee embellishments, which included a lot of color. The bits from the MME Mixed Bag, were perfect for adding around the rings of the wood grain design.
And since I used so many flat pieces from the MME Mixed Bag, I wanted to use one of the Evalicious Flair Buttons and some of the Wood Veneers from the February 2015 Embellishment Kit, for another level of dimension on my layout.
I’m also sharing a Process Video for today’s layout, if you would like to see how I put my page together.
Tuesday, February 3, 2015
Can't Buy Me Love
I'm stopping in today to share a new layout with you! This one does have a purpose, some time down the road, but I just can't share the details yet, even though I'm posting the layout today! :)
I used the Silhouette Sketch Pens to create several of the elements on my layout. I used the Heart Pattern and Love word from the Silhouette Store, with the Sketch Pens. I altered the Heart Pattern cut file a bit, before I sent it to the Cameo, by adding several more smaller heart shapes inside the larger hearts. Then I used 5 different colored Sketch Pens to create an ombre look in the background. Once my hearts finished drawing, I used matching water color paints to fill in some of the hearts. I wanted to use the Love cut file as part of my title and drew it on one of the papers from the Amy Tan Stitched 6x6 Paper Pad, with the Red Sketch Pen. Then I drew and cut the word Love in a smaller size, with the same Sketch Pens and placed them around the stitched circle.
I had a lot of fun mixing the Silhouette Sketch Pens with water colors! Thanks for stopping by today!
Supplies: Patterned Paper, Thickers & Date Stamp: American Crafts; Cut Files, Sketch Pens & Die Cut Machine: Silhouette Cameo; Flair Button: A Flair for Buttons; Cork Embellishments & Wood Veneers: Color Shine: Heidi Swapp; Elle's Studio; Wood Drop Stickers: Pinkfresh Studio; Enamel Dots: Freckled Fawn
Sunday, February 1, 2015
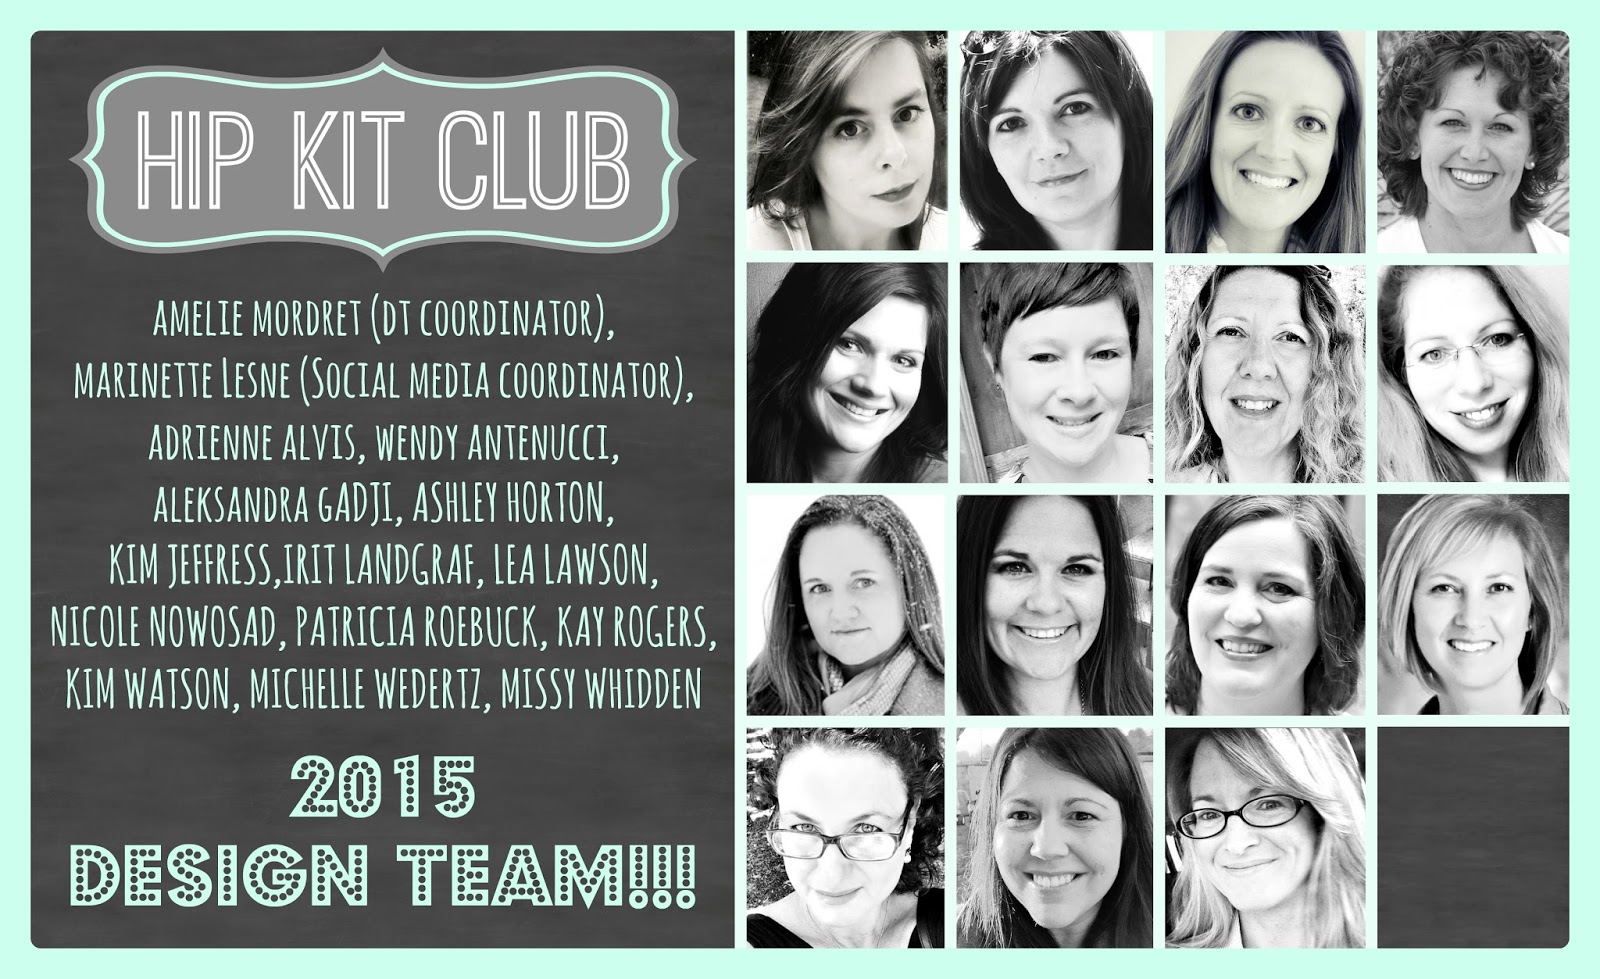
Hip Kit Club Design Team!!
I am so excited to share today, that I will be a returning Hip Kit Club Design Team member for the new term! I love working with the monthly Hip Kits, because you have so many amazing paper and embellishment choices and it makes it so easy to put your layouts together.
There are some very talented Ladies joining the Team, and I can't wait to see their work with the Kits each month!
If you haven't had a chance to check out the February 2015 Hip Kit & Add-On Kits, make sure you visit the website to get yours, before they are all sold out!
I've already had a chance to start working with the Kit, so here's a little sneak peek of the first layout I created and it will be on the Hip Kit Blog this Wednesday!
Subscribe to:
Posts (Atom)