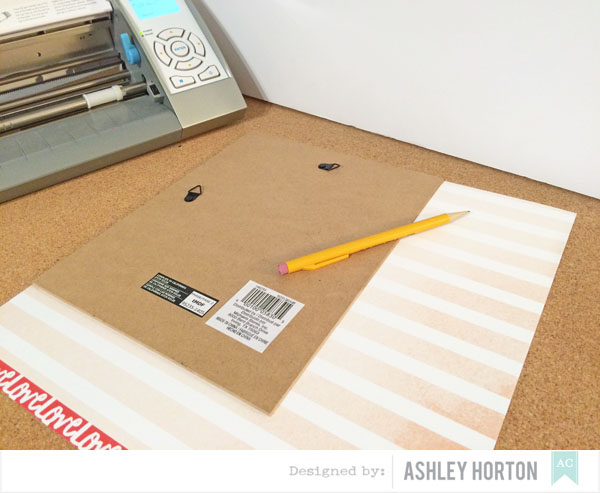
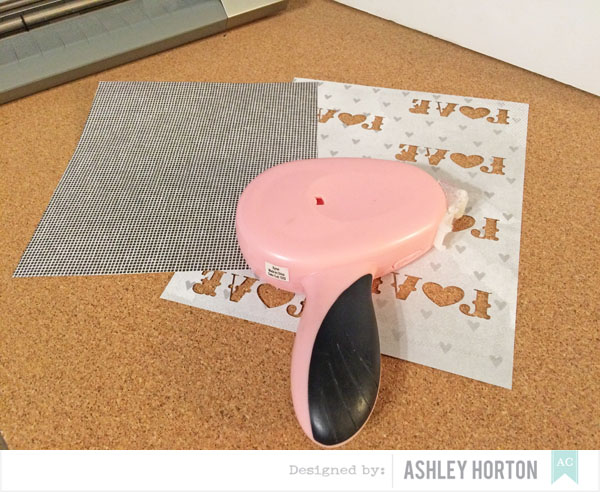
And I also have a tutorial to share with you, showing how I put the frame together!
1. Remove the glass and backing from an 8x10 white frame.
2. Mark the 8x10 guidelines on your patterned paper - that will serve as the main cut out for the inside of your frame. You can make sure your marks match up on your Silhouette cutting mat.
3. In Silhouette Studio, repeat the Love phrase over and over in your 8x10 cutting space. The "Love" die cut can be found in the American Crafts artists folder in the Silhouette Store.
4. After all of your Love words are in place and lined up, delete the alternating words. This will give you a negative and positive effect once your frame is completed. Cut away!
5. When the machine has finished cutting, remove your paper and trim it to the 8x10 size on your paper trimmer.
6. Now you will want to cover the backside of your Love cut paper. Make sure the pattern you want to see is facing forward when you adhere it to the back of your paper.
7. Now, you can go back into Silhouette Studio and cut the word "Love" from two different patterned papers. I cut 4 words on each pattern from the 6x6 Paper Pad. Then add the words to your 8x10 background piece by alternating each of the patterns.
8. Once all of your words are in place, use a strong adhesive around the backing of the frame and adhere your 8x10 paper to it.
9. Now you can close the tabs on the back of the frame and embellish your frame with stickers, Garland, and patterned paper from the Stitched collection!
And the great thing about this frame is that it could be adapted for boy decor, a baby's room, or how about even for your own room - the possibilities are endless!
Supplies: Stitched (368954) - Applique, Stitched (368958) - Felted, Stitched (368962) - Dobby, Stitched (368965) - 6x6 Paper Pad, Stitched (368979) - Garland, Stitched - Accent & Phrase Stickers, Stitched (368978) - Enamel Dots, Stitched (368972) - Matte Puffy Accents, Love Cut File


No comments:
Post a Comment