
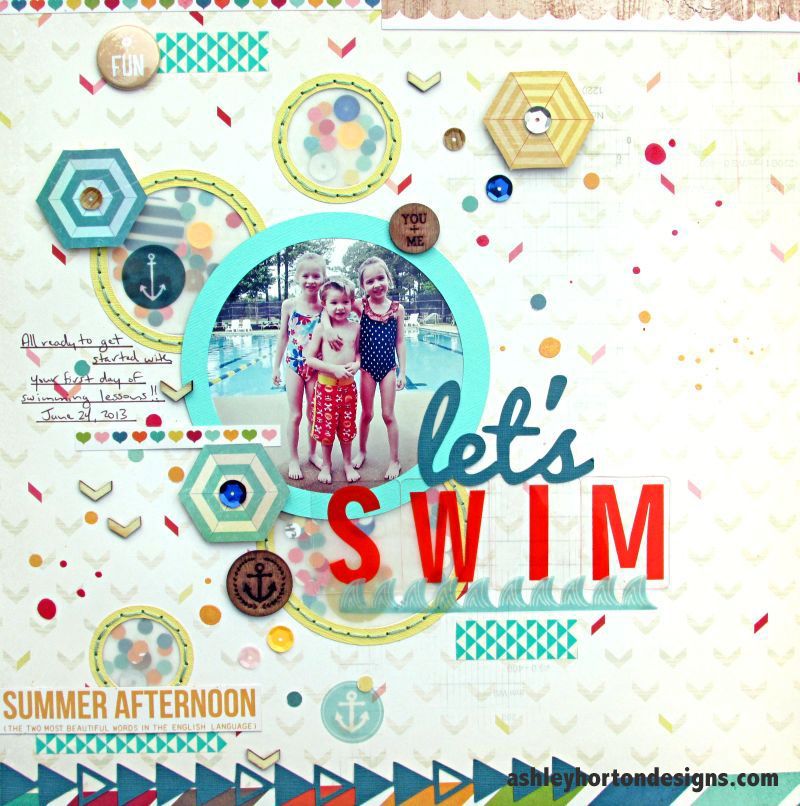
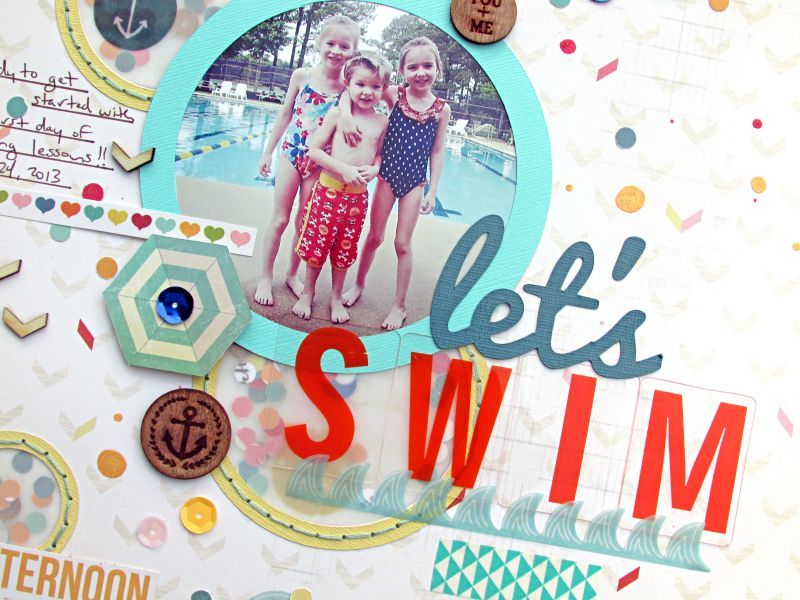
Couldn't you just die from all of that yumminess??!! This Kit has an amazing Nautical look going on, and some papers from Crate Paper The Pier, Studio Calico Atlantic, and those awesome clear acrylic alphas from Crate Paper. If you are wondering how I attached those, I just ran them through my little Xyron and added some adhesive to the back. I love that it keeps the clear look and I didn't have to worry about stitching or stapling the letters to my page.
I wanted to share a tutorial with you, on how I created the Vellum circles. I will admit, it was a little time consuming, but I thought it was well worth it after the end result.
Before you begin, use a Hole Puncher to punch out pieces for your confetti. This is a great use for scraps.

1. Use Silhouette Studio to place and cut your circles. Or, if you have an anywhere circle punch, that will work too.
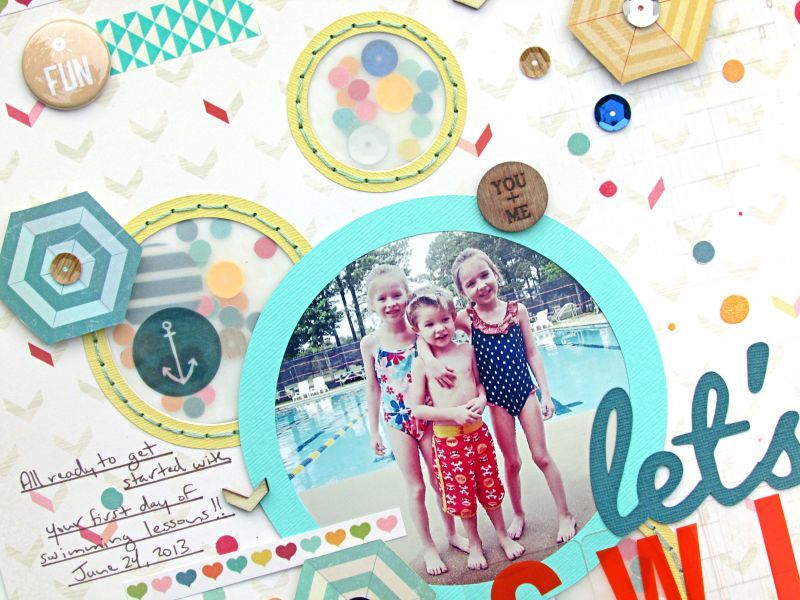
2. Flip your paper over and cut and place a piece of Vellum over the width of the circle. Adhere the edges with Washi Tape or regular tape and then start placing the Confetti on the Vellum. After you have all of your Confetti in place, cut and place another piece of Vellum over your Confetti to hold it in place. Also secure the edges. Once you have both pieces of Vellum in place, you can place a piece of patterned paper behind your 2nd piece of Vellum. I used a subtle pattern from the Allison Kreft paper, included in the Kit.
3. After you have completed each of your circles with the process from step number 2, go back and cut circle outlines for each of the circles on your page. Then adhere them around the edge of each of the circles.
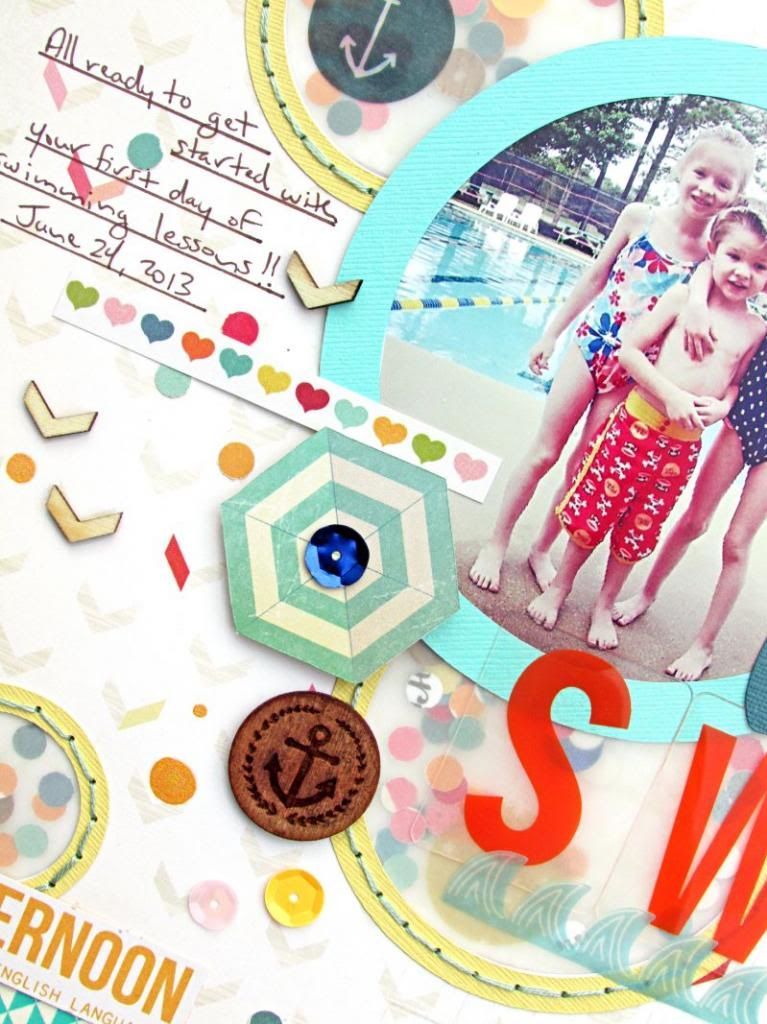
4. To finish off your Vellum circles, use a paper piercer to punch through the circle outline and then go back and stitch around each of the circles.
Once you get the first one completed, the process will go a little faster. And along with the hole punched confetti pieces, I added in some of the Vellum embellishments from the Studio Calico Atlantic pack included in the Kit and some sequins.
I hope you'll give this fun technique a try and don't forget to stop by The Paper Bakery shop to check out how you can get a Subscription to all of our monthly Kits!

No comments:
Post a Comment